How to connect to HSCwave from a Windows 7 Laptop
Download the auto-installer to the right to configure your computer for you (.zip file). Follow the instructions below.
To manually configure your Windows 7 PC, use the HSCwave Manual Configuration instructions below.
HSCwave Windows 7 autoinstaller instructions
1. Download the file HSCwave.zip and extract it to a folder.
2. Disconnect from any other wireless network
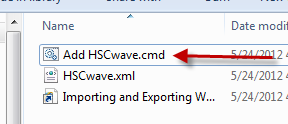
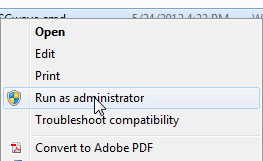
3. Right click on HSCwave.cmd and select Run as Administrator
4. HSCwave should be added to your networks list and connect automatically.

5. Some computers require this script to be run a few times before the information is added.
If you have any problems, please call the IMS Service Desk at 7-7777 or email IMS Service Desk.
HSCwave Manual Configuration (for Windows 7)
1. Open Wireless Connections
2.Open Network and Sharing
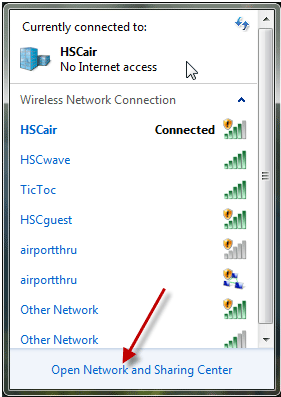
3. Click on Manage Wireless Networks

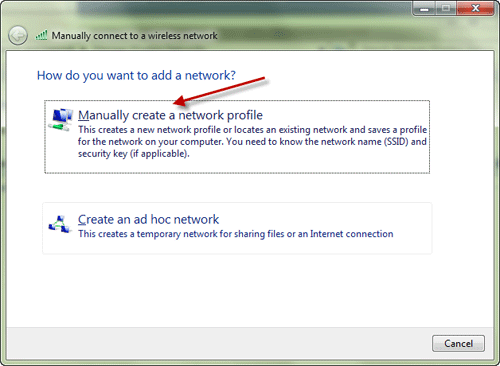
5. Manually Create A Network Profile
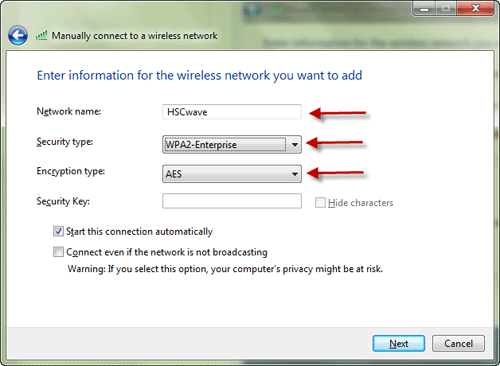
6. Add Settings and Click Next
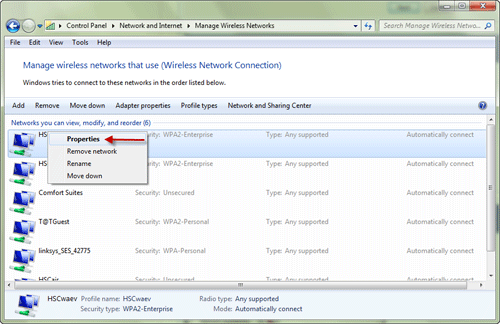
7. Right Click and Select Properties
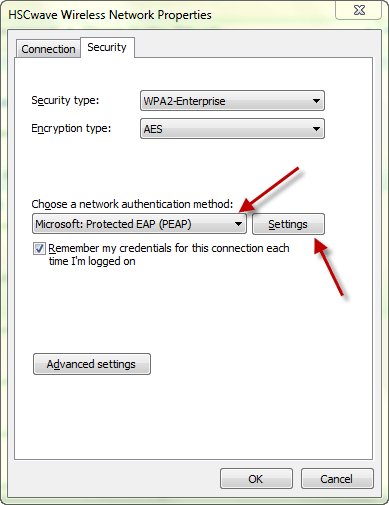
8. Click the Security Tab

9. Select PEAP and then Click Settings
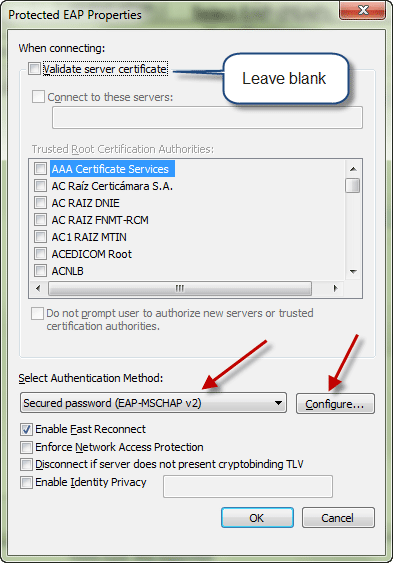
10. Check Settings and Click Configure
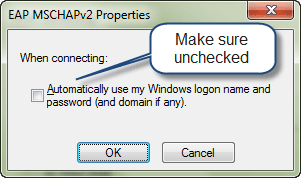
11. Check Settings and click OK two times
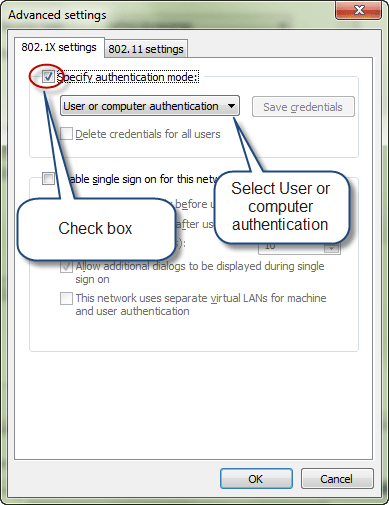
12. Click Advanced Settings
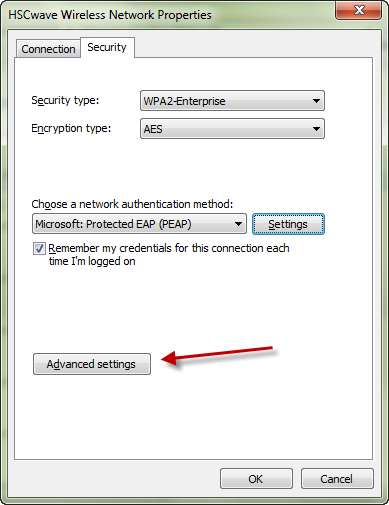
13. Check Box and Select "User or Computer Authenticator"
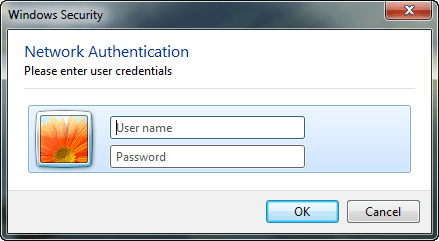
14. When You Select Connect to HSCwave you will be Promped for your UTHSCSA Domain Credentials

15. Enter your Domain Credentials to Connect to HSCwave
Return to HSCwave